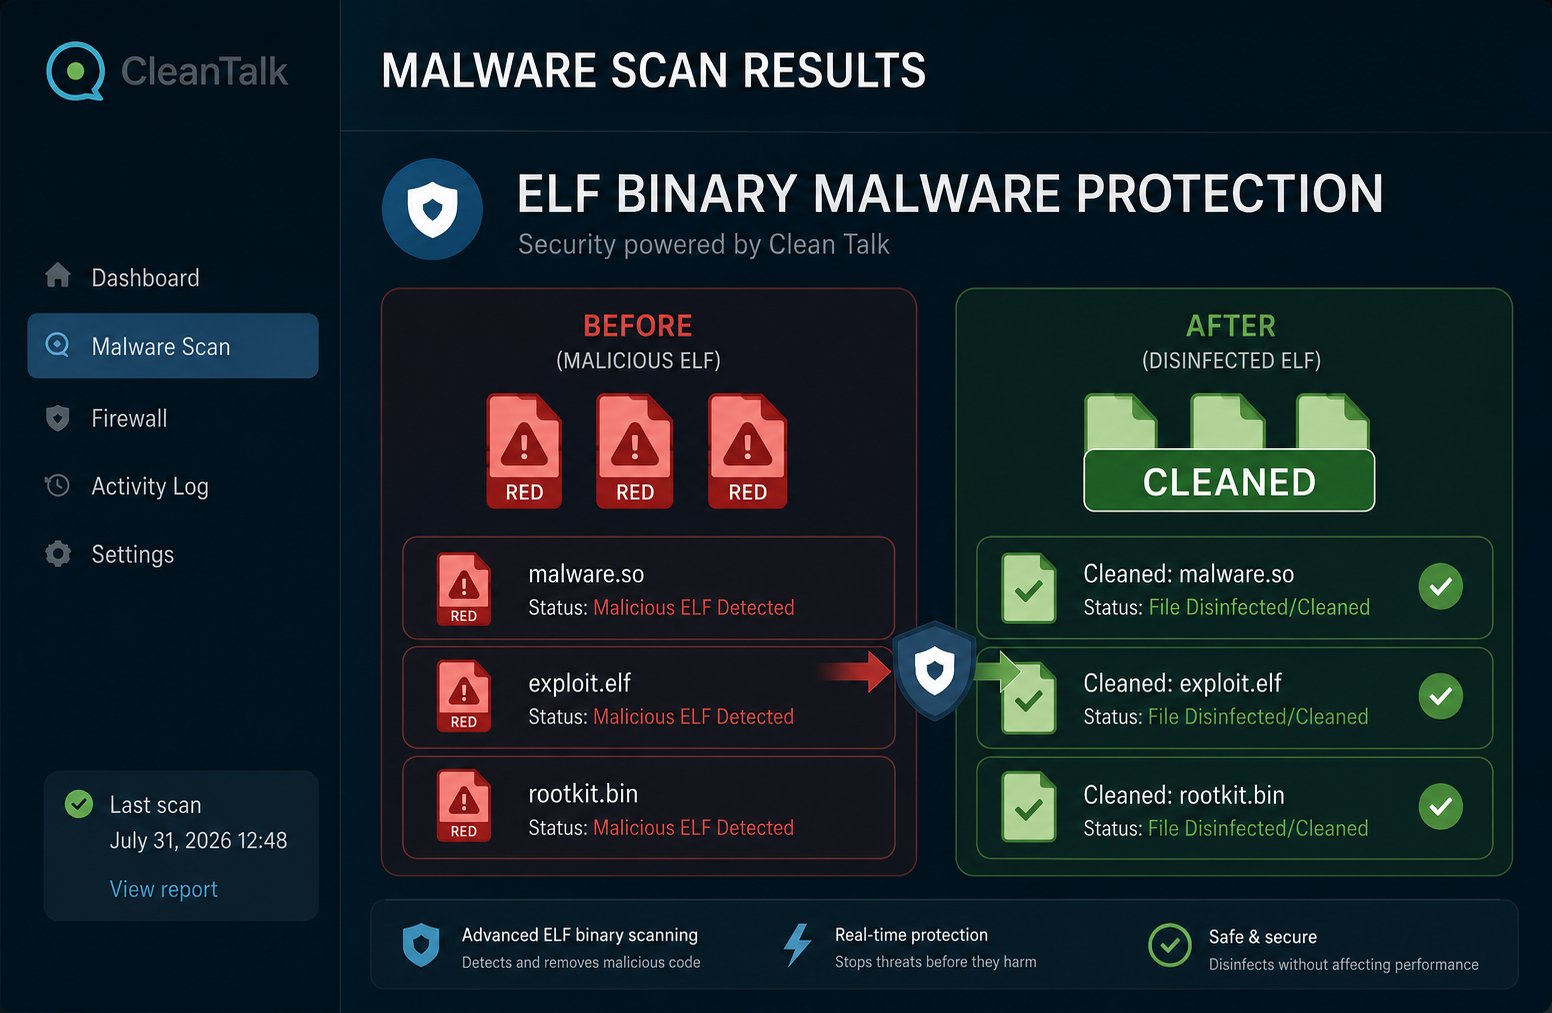
Most WordPress security scanners are good at catching malicious PHP code — web shells, injected theme and plugin files, suspicious eval() calls. But attackers have another tool in their arsenal: compiled binary files in ELF format (Executable and Linkable Format) — the standard executable format for Linux. Such a file contains no readable PHP code, doesn’t match familiar signatures found in plugin source files, and often has no file extension at all — so classic file scanners simply skip right past it.
This is exactly the gap that Security by CleanTalk’s new module — BinaryCheck — was built to close.
Why Attackers Plant ELF Files on Your Server
A compiled binary sitting on a web server is almost always a bad sign. Attackers typically use such files for:
- Cryptominers — background processes that quietly consume your server’s CPU/GPU resources to mine cryptocurrency at your expense.
- Backdoor agents — compiled replacements for a web shell that are harder to detect with tools built around PHP scanning.
- Botnet agents (in the vein of Mirai and its many variants) — turning the infected server into a node in a DDoS botnet.
- Rootkits and helper utilities — used to hide processes, files, and network connections from the site administrator.
The core problem is that most WordPress security plugins are designed around PHP-based threats, simply because PHP is the language the platform itself is built on. Binary ELF files sit outside that field of view: the scanner looks for dangerous patterns in source code, not machine code inside compiled executables.
A Quick Word on Security by CleanTalk
Security by CleanTalk is a free WordPress plugin that combines a cloud firewall, a malware scanner, brute-force protection, two-factor authentication, and known-vulnerability checks. The plugin works together with CleanTalk’s cloud service: part of the analysis — signature matching, heuristics, reputation databases — runs in the cloud, keeping the load on your hosting minimal. The plugin has no separate Pro tier; every feature, including BinaryCheck, is available under a single CleanTalk subscription.
What BinaryCheck Actually Does
BinaryCheck is a scanner module that separately analyzes binary files on the server, including ELF files. Here’s what sets it apart:
It finds binaries regardless of file extension. The module identifies whether a file is binary by looking at its actual content (the source field), not its file extension. That matters: a malicious ELF file with no extension, or a “disguised” extension (.jpg, .tmp, and so on), still gets correctly flagged as binary and included in the analysis.
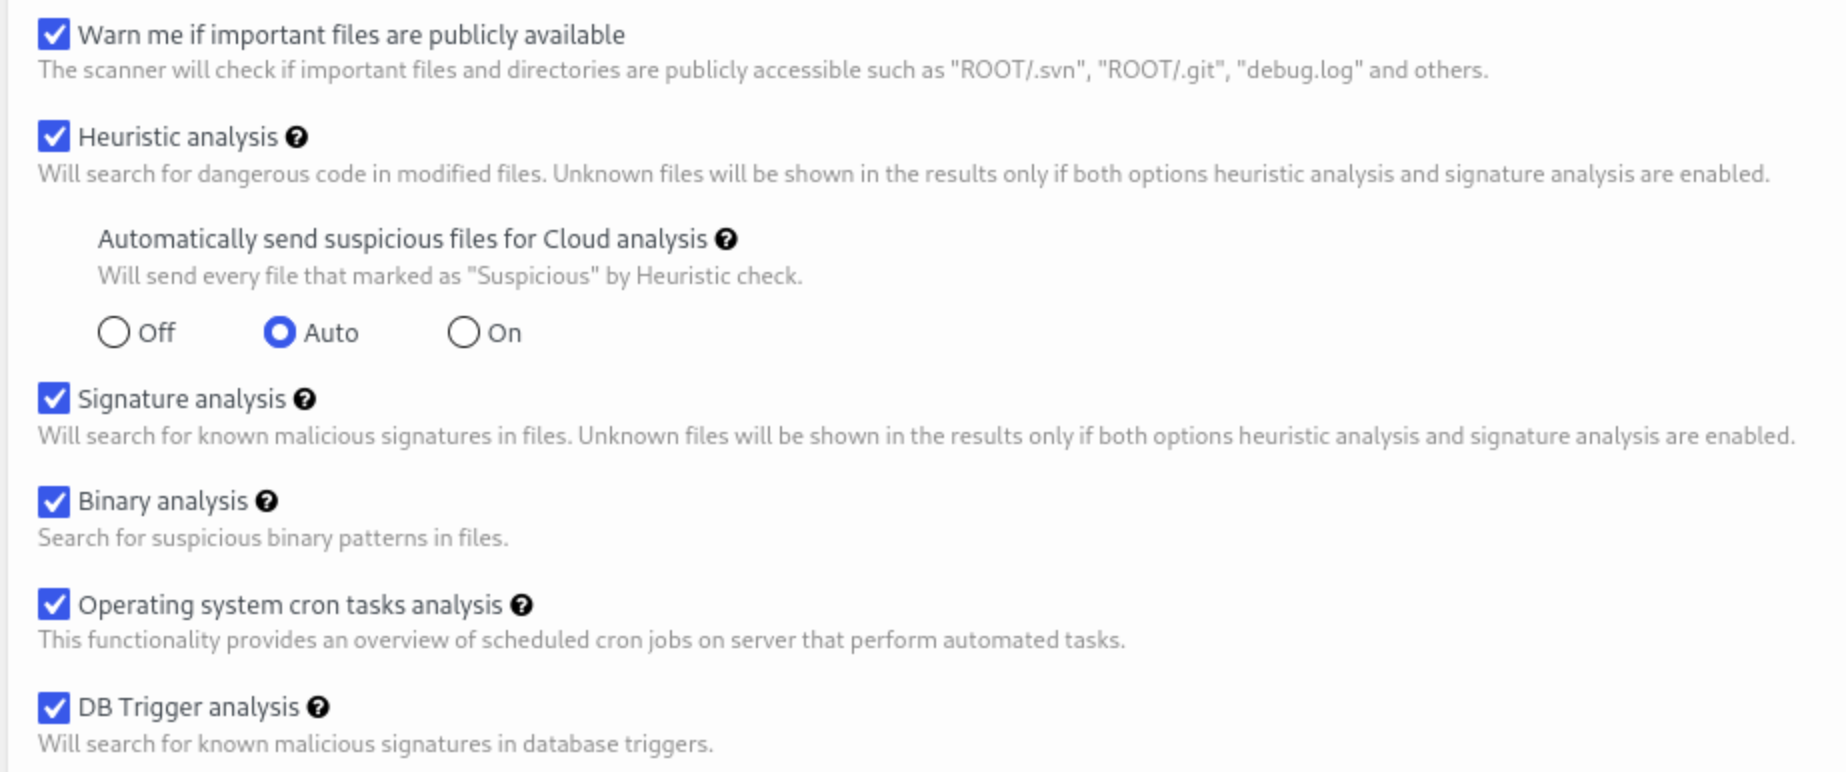
Dual analysis — signature-based and heuristic. The file is first checked against a database of known signatures (an exact match with a previously identified piece of malware). If there’s no match, heuristic analysis kicks in — looking for suspicious patterns in the file’s structure and behavior that are typical of malware, even if that specific sample has never been seen before.
Automatic quarantine or deletion. Suspicious binaries can be placed in quarantine (the file is isolated but not physically deleted, in case of a false positive) or removed outright. Which actions run automatically and which require manual review is configurable in the scanner settings.
Runs as part of the broader Malware Scanner. BinaryCheck isn’t a standalone tool — it’s a module within CleanTalk’s overall security scanner. It uses the same autoscan infrastructure (scheduled from every 12 hours up to once every 30 days) and reports into the same Dashboard as every other scan result, for further review.
Note: the module shipped in plugin version 2.184 (July 20, 2026) and continues to receive fixes — subsequent patches have already addressed edge cases around counting extensionless files in both signature and heuristic analysis. It’s recommended to always keep the plugin updated to the latest version so BinaryCheck works correctly.
How to Enable and Configure BinaryCheck
- Install and activate the Security by CleanTalk plugin from the WordPress.org plugin directory, or download the latest version (security-malware-firewall.zip) manually.
- Go to Security by CleanTalk > General Settings.
- Make sure automatic scanning / the Cure malware option is enabled — in current plugin versions, BinaryCheck runs as part of the general scanner and doesn’t need a separate toggle.
- Run a scan manually (the Scan button) or wait for the next scheduled automatic scan.
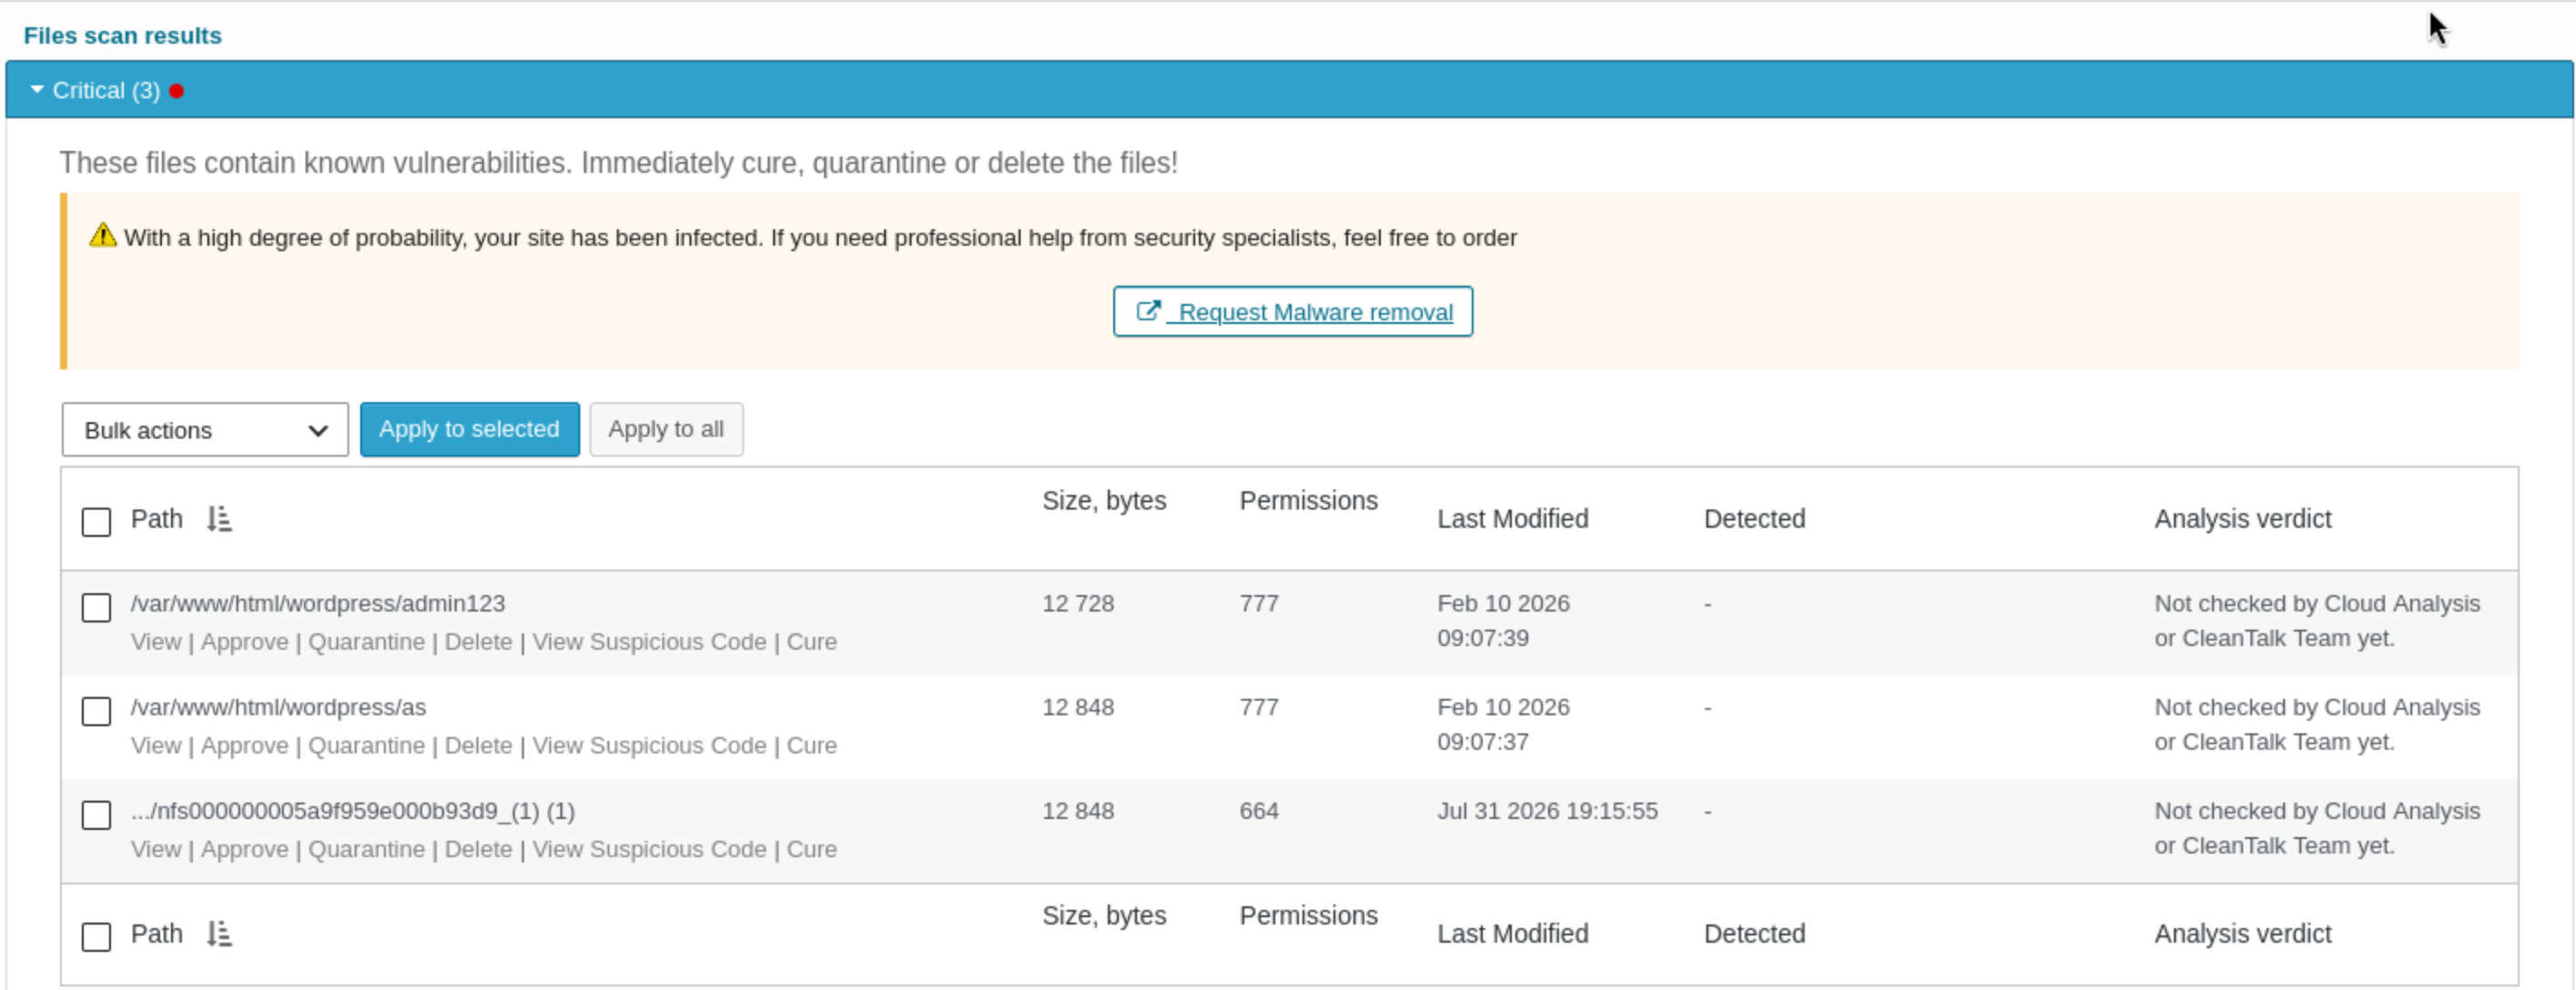
- Once the scan finishes, open the results tab and look for files flagged as binary / suspicious.
- For each flagged file, choose an action: Quarantine it, Delete it, or Approve it (mark it as safe, if it turns out to be a false positive — for example, a legitimate third-party binary utility installed on the server).
How This Compares to Other Ways of Finding ELF Malware
There are a few fundamentally different approaches to finding malicious binaries on a server:
ClamAV — an open-source antivirus engine with a broad signature database, capable of catching ELF malware among other things. The catch for anyone on shared hosting or a VPS without root access: ClamAV needs to be installed and configured over SSH — it’s not something a WordPress plugin can handle. It’s a solid choice if you have server access and Linux administration experience.
Linux Malware Detect (LMD / maldet) — a specialized scanner originally built for shared-hosting environments, which also requires SSH access and manual cron job configuration.
rkhunter / chkrootkit — rootkit-hunting utilities that partially overlap in purpose (detecting hidden binaries and processes), but again, these are command-line tools for people administering the server directly rather than just the WordPress site.
Traditional WordPress security plugins (Wordfence and similar tools) — typically focused on PHP files within WordPress core, themes, and plugins: comparing file hashes against the official wordpress.org repository, scanning for suspicious PHP code. Binary ELF files sitting outside the WordPress directory structure are usually outside their scanning scope.
BinaryCheck (CleanTalk) — a middle-ground option for anyone without SSH/root access or the desire to manage Linux security tools manually: binary file analysis is available right from the WordPress admin dashboard, with no server-side software to install. The trade-off is that the module still operates within the context of a WordPress plugin — for full server-level antivirus tasks (scanning outside the site’s directory, deep runtime process analysis), a dedicated server-side solution like ClamAV or LMD is still needed.
Bottom line: if your site runs on shared hosting or a VPS you don’t administer deeply, BinaryCheck fills a gap that previously meant asking your hosting provider for help. If you do have root access and manage the server yourself, treat BinaryCheck as an additional layer alongside a server-side antivirus, not a replacement for one.
F.A.Q About BinaryCheck
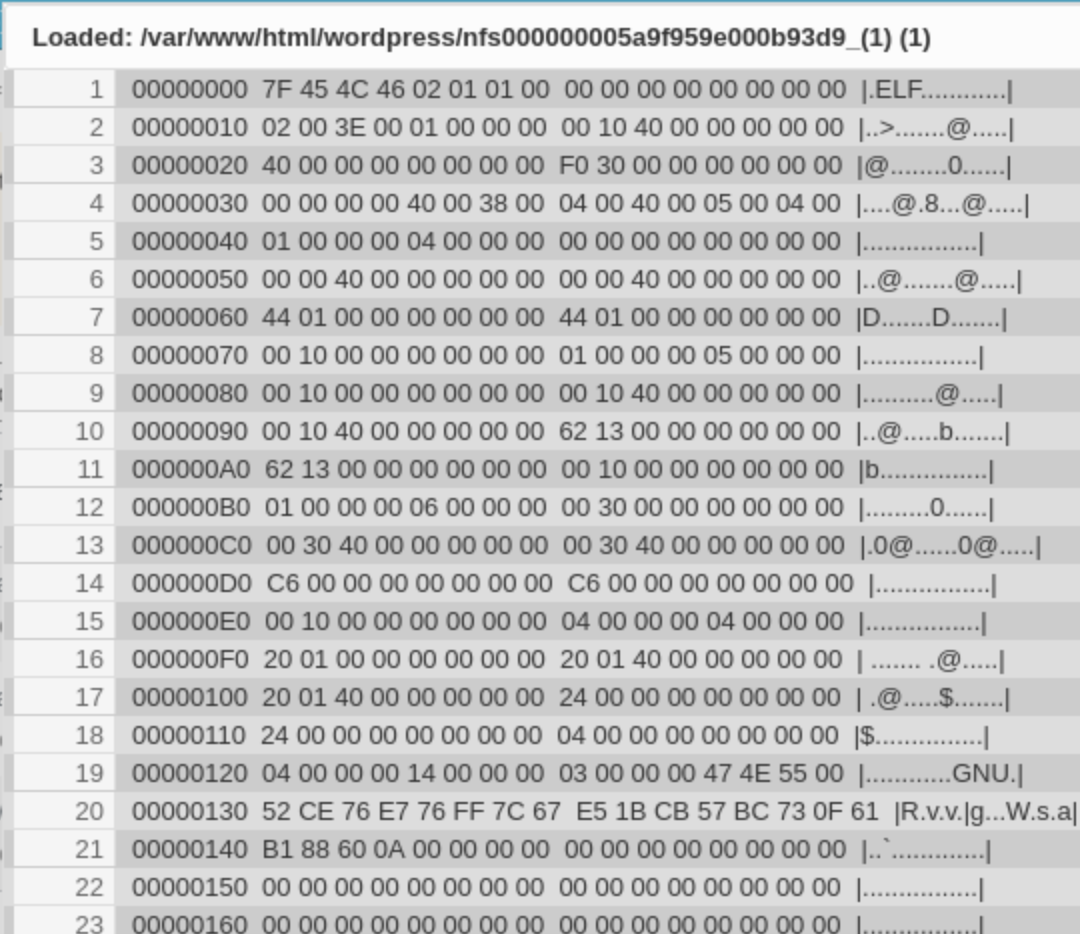
What is an ELF file, and why is it dangerous? ELF (Executable and Linkable Format) is the standard executable file format on Linux — the equivalent of a .exe file on Windows. An ELF file isn’t inherently dangerous; legitimate system utilities are built the same way. The danger comes from how it got there: through a vulnerability (an insecure file upload, an outdated plugin, compromised credentials), an attacker can plant a malicious ELF file — a cryptominer or a backdoor, for example — that then runs quietly in the background.
Will BinaryCheck slow my site down? The core analysis — signature matching and heuristics — runs on CleanTalk’s cloud infrastructure, keeping the load on your hosting minimal. The scanner is designed to run in the background without a noticeable impact on performance.
Do I need SSH access for BinaryCheck to work? No. That’s precisely the module’s advantage — the entire feature is available from the WordPress admin panel, with no need to connect to the server directly.
What if BinaryCheck flags a legitimate file as malicious? You can mark that file as Approved — it will no longer show up as a threat in future scans. If you’re unsure, you can send the file to the CleanTalk team for analysis via the corresponding button in the scanner interface.